REVIEW · SILVER JEWELRY CLASSES
Ubud Town Center Silver Class – Create Your Own Silver Jewelry
Book on Viator →Operated by Celuk Bali Silver Class · Bookable on Viator
Your hands do the work in this Ubud class. You’ll choose a design, shape raw silver, and polish the finished piece in a small 14-person workshop near Ubud Town Center, with free Wi‑Fi to keep you connected.
I like that this isn’t a drive-by souvenir stop. The class walks you through the full process, from forming a silver bar to engraving and polishing, so your final piece feels earned. I also like that it’s wheelchair and stroller accessible in a practical, real-world way. The one drawback to think about: the included silver is limited to 1–5 grams (pieces under 5 grams are still charged as 5), and any extra comes with an 85,000 IDR per gram add-on.
In This Review
- Key things to know before you go
- Ubud Town Center Silver Class: what you’re really buying
- The workshop flow: from design choice to polished metal
- 1) Choose your design (samples first, then your idea)
- 2) Melt to a silver bar, then roll/press
- 3) Shape your ring, pendant, or bracelet form
- 4) Engrave details for the personal touch
- 5) Sand to refine the surface
- 6) Polish until it’s wearable
- Price and silver weight rules: how to avoid surprises
- Time on the clock: what a 1–3 hour class feels like
- Location on Jl. Bisma: easy to fit into an Ubud day
- Accessibility and comfort: the real-world checklist
- Who should book this silver jewelry class (and who might skip it)
- Should you book Ubud Town Center Silver Class? My take
- FAQ
- Where is the meeting point for the silver jewelry class?
- How long does the workshop last?
- How many people are in the class?
- Is the workshop wheelchair and stroller accessible?
- What’s included in the price?
- How much silver is included, and what if my piece uses less?
- What is the extra cost if I want more than 5 grams of silver?
- Is shuttle service included?
Key things to know before you go

- Small group, real teacher time: capped at 14 people, so you’re not stuck waiting in line.
- You follow the full silver-making chain: design choice, melting, pouring into a bar, rolling/pressing, shaping, engraving, sanding, and polishing.
- Pick from samples or sketch your own: you get inspiration and options, not just one cookie-cutter design.
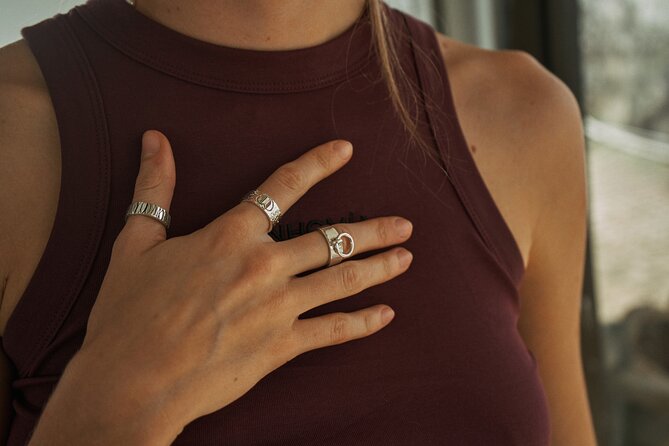
- You bring home your own wearable: one piece per person, typically in the ring/pendant/bracelet family.
- Included refreshments and tools: materials, tools, a snack, mineral water, and free Wi‑Fi are part of the deal.
- Know the silver weight limit up front: 1–5 grams included, then 85,000 IDR/gram if you want more than 5 grams.
Ubud Town Center Silver Class: what you’re really buying
This workshop is about one thing: turning raw silver into a wearable souvenir you made with your own hands. At $41.87 per person, you’re not just paying for an item. You’re paying for guided instruction, the studio tools, the silver process, and the time it takes to finish a piece properly—down to sanding and polishing.
What makes it a better value than a typical market purchase is the effort. When you spend your hands shaping metal, you suddenly understand why handmade jewelry costs what it costs. And you end up with something you can actually wear back home without feeling like you bought yet another trinket.
A practical note: the class is built around making one silver jewelry piece per participant. If you want multiple pieces, bigger styles, or a family-style matching set, you’ll need to plan around that limit.
You can also read our reviews of more tours and experiences in Ubud


The workshop flow: from design choice to polished metal
The class runs about 3 hours on average, but it can be shorter or longer (the workshop length depends on how complex your chosen design is). Either way, the structure is clear. You’ll move through stages that mirror real silversmithing work, not just a simplified craft demo.
1) Choose your design (samples first, then your idea)
You’ll start by picking a design. You can use available samples for inspiration, and you can also choose to create something more personal by sketching your own. This matters because it helps you decide what style you actually want before you touch the metal.
If you’re the type who freezes when faced with options, you’ll probably appreciate the fact that there are examples to copy or adapt. One review highlighted that the ring examples helped spark their own design choices.
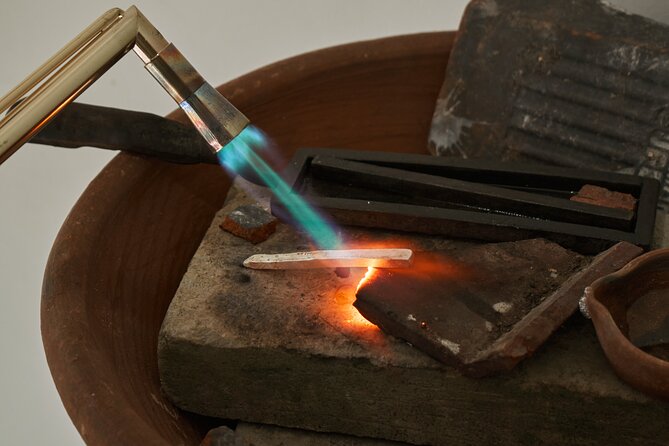
2) Melt to a silver bar, then roll/press
After design comes the metal work. You’ll see pure silver melted down and poured into a bar shape. Then it gets rolled and pressed to reach the thickness you need for your jewelry.
This part is where you go from imagining the piece to understanding how metal behaves. Silver isn’t just a shiny material. It’s workable, but it also demands patience. The rolling and pressing steps also help explain why a finished piece can look simple while the process is anything but.
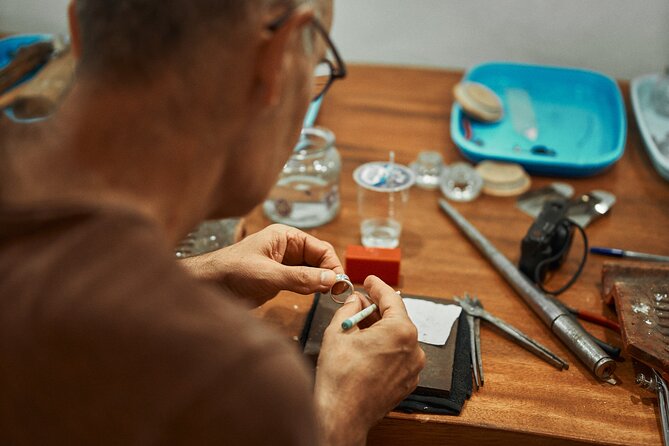
3) Shape your ring, pendant, or bracelet form
Once your bar is ready, you’ll start shaping. Depending on what you chose, you’re working toward a ring, a pendant, or something in the bracelet category. You’ll shape, adjust, and refine until your form matches the design you want.
Expect that this is where the hands-on time starts to feel physical. One review called it tiring in a very real way, and that makes sense: shaping, sanding, and polishing involve repeated motions and careful control.


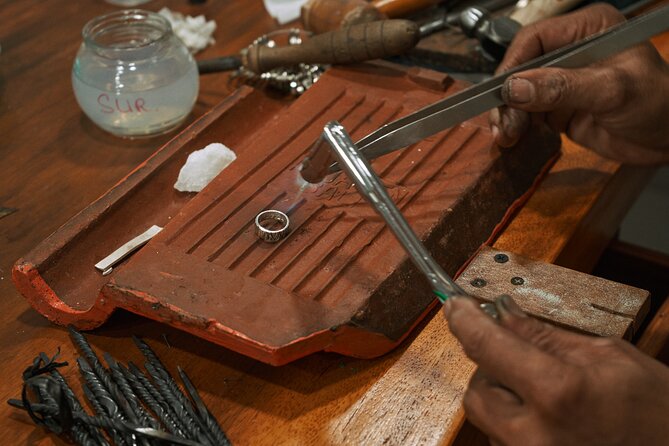
4) Engrave details for the personal touch
Engraving is your chance to add the details that make the piece feel like yours. The class includes this step, so you’re not just grinding metal into a blob and hoping it looks good.
And if you’re unsure what level of detail to go for, this is one of the moments where having a patient instructor matters. One review specifically thanked Lau for being very patient and for keeping the experience positive.
5) Sand to refine the surface
Sanding is where the rough edges start turning into something smooth. It’s not glamorous, but it’s essential. Without sanding, your piece won’t polish to that clean shine.
This also affects how your jewelry feels when you wear it later. The goal isn’t just looks. It’s comfort and a finish you’ll actually want against skin.
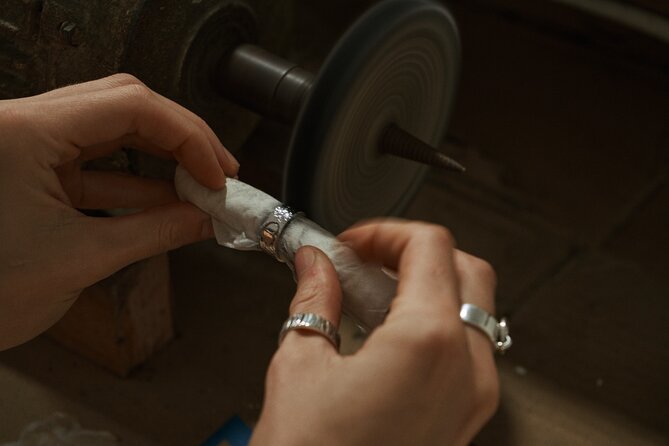
6) Polish until it’s wearable
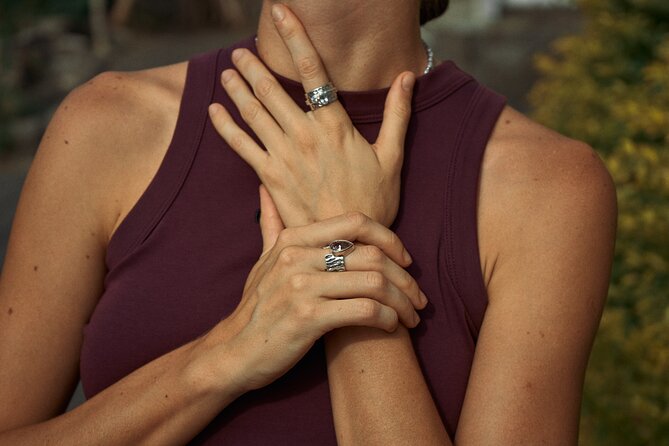
The final step is polishing, and this is the moment most people remember. Silver goes from “workshop metal” to something bright enough to wear on your vacation day—or immediately once you’re done.
You’ll leave with your handcrafted piece, typically in the 1–5 gram range (with the included minimum rules explained next).
Price and silver weight rules: how to avoid surprises
Let’s talk money, because it’s the part people tend to gloss over.
The class costs $41.87 per person. What that price includes:
- One silver jewelry piece you make yourself
- Silver weight in the 1–5 gram range (your final weight depends on your design)
- If your piece ends up using less than 5 grams, it’s still accounted for as 5 grams
- Materials and tools
- A snack and mineral water
- Free Wi‑Fi
What it doesn’t include:
- Extra silver beyond 5 grams
If you want more than 5 grams of silver, there’s an additional fee of 85,000 IDR per gram. You also can’t share silver with another person, and each participant makes only one piece.
So here’s the practical way to think about this: decide early whether you’re making a delicate, wearable accent or something bolder and heavier. If you want weight and size, the included silver limit can influence your design choices. If you’re happy with a smaller, detailed piece (ring/pendant style), the standard pricing is likely to feel straightforward and fair.
Time on the clock: what a 1–3 hour class feels like
The workshop is listed as 3 hours approx., but it’s also described as lasting between 1 to 3 hours depending on design complexity. Translation: simple designs move faster, detailed designs take longer.
This timing matters for planning. If you’ve got a packed afternoon of temples and dinner, go in with a little buffer. Even though the class is capped and well run, metalwork takes time and you’ll be working at a steady pace with guidance.
Also, remember that this is not a passive show. You’re doing the shaping and finishing, which is why the experience can feel tiring in the best way. You’re earning the result.
Location on Jl. Bisma: easy to fit into an Ubud day
The meeting point is Ubud Town Center Silver Class on Jl. Bisma, Ubud (Ubud Town Center Silver Class, Jl. Bisma, Ubud, Kecamatan Ubud, Kabupaten Gianyar, Bali 80571, Indonesia). The activity ends back at the meeting point.
Two logistical points are especially helpful:
- There’s no shuttle included, so you’ll need to get there yourself.
- It’s near public transportation, which makes it easier if you’re moving around Ubud by short rides or local routes.
If you’re staying in central Ubud, this location is likely convenient enough that you can combine it with other town stops. If you’re staying farther out, just plan your transport accordingly.
Accessibility and comfort: the real-world checklist
This class is wheelchair and stroller accessible, and that’s not just a marketing line. It matters because workshops can be tricky—small spaces, benches, and setup. Here, it’s explicitly built to work for wheelchair and stroller needs.
Service animals are also allowed, and the class is said to be suitable for most travelers. The group size stays small (max 14), which generally means less crowding and fewer barriers for moving around in the studio.
For your comfort, bring what you’d bring to a craft workspace:
- Closed-toe shoes you don’t mind getting a bit dusty
- Clothes you can move in and that you’re not worried about scratching during sanding/polishing work
Who should book this silver jewelry class (and who might skip it)
Book it if you want a souvenir with meaning. You’ll get a wearable piece, and you’ll know the process behind it. This is especially great if you enjoy making things, even if you’re not “crafty.” The structure is guided, and the design choices plus step-by-step work help you finish with confidence.
It’s also a strong pick if you value small group learning. With a maximum of 14 people, you’re more likely to get the kind of hands-on assistance that makes a difference when you’re shaping metal.
Skip it if:
- You only want quick browsing and shopping.
- You’re trying to make something large or heavy without considering the extra silver cost beyond 5 grams.
- Your schedule is so tight you can’t risk a design-related timing stretch toward the longer end of the 1–3 hour range.
Should you book Ubud Town Center Silver Class? My take

If you’re in Ubud and you like the idea of taking home something you truly made, this class is a solid choice. The process is complete—from melting to polishing—and the small group size helps you feel guided rather than rushed. I especially like that your money goes toward instruction plus materials, not just a pre-made product.
The biggest decision is design and how much silver you want. If you can keep your expectations within the 1–5 gram included range, the pricing makes sense. If you imagine a thicker, heavier piece right away, factor in the 85,000 IDR per gram add-on so there are no surprises.
If you want a wearable Ubud craft story, this is one you can actually carry on your body.
FAQ
Where is the meeting point for the silver jewelry class?
The class meets at Ubud Town Center Silver Class, Jl. Bisma, Ubud, Kecamatan Ubud, Kabupaten Gianyar, Bali 80571, Indonesia. It ends back at the meeting point.
How long does the workshop last?
The class lasts between 1 to 3 hours, depending on the complexity of your jewelry design. It’s listed as about 3 hours approx.
How many people are in the class?
The workshop has a maximum of 14 travelers, with an intimate group setup capped at 14 people.
Is the workshop wheelchair and stroller accessible?
Yes. This experience is wheelchair and stroller accessible, and service animals are allowed.
What’s included in the price?
You get all necessary materials and tools, plus a snack, mineral water, and free Wi‑Fi. You also make one silver jewelry piece.
How much silver is included, and what if my piece uses less?
You can take home your own silver jewelry starting from 1–5 grams. If your silver jewelry is less than 5 grams, it is still accounted for as 5 grams.
What is the extra cost if I want more than 5 grams of silver?
There is an additional fee of 85,000 IDR per gram for silver beyond 5 grams.
Is shuttle service included?
No. Shuttle service is not included, so you’ll need to arrange your own transport to the meeting point.